Showing posts with label Projects. Show all posts

Saturday, May 6, 2017

Todays Project....

So, wanted to find a little two hour project this morning to relax from a long week.   While making pancakes for my grandson he insisted we 'wash beard'.   He loves to pretend to shave with me; perfect project - a toy razor for him.   This was a quick down and dirty kind of thing so no pictures of the build, just the finished product.   In fact, I didn't even go look at mine and as soon as I put them next to each other realized that I cut the 'blade' backwards so I might make another one.   Just doesn't look right :-).  Just in case a safety freak sees this; not to worry it's not sharp....


 In words the build went like this:

  • Rip a couple of strips of oak out of the scrap pile for the handle
  • Rip the center out of an old linoleum transition strip that has been laying in the garage for at least 15 years (good thing I saved it right?) for the blade
  • Sand the aluminum blade to take off the burrs
  • Sand the wood handle to shape
  • Drill holes
  • Pop rivet the blade in place and the back with washers for spacers
  • Try it out!

Saturday, April 22, 2017

Sunday, December 6, 2015

Black Walnut Project #1

Convergence, like discrete pins in a lock tumbler aligning to allow the handle to turn.  I have a mill, we were going to become grandparents, and the baby's other grand and great grandmothers planned to remove walnut trees from their properties.  Three unrelated and isolated facts?  Perhaps; sans an inclination to provide a tangible link between the little one and three generations of family.

This entry is a bit of a time machine.  The cutting took place a year ago, after the wood was milled then air dried until ready.  Here is the start of a journey from field to home.
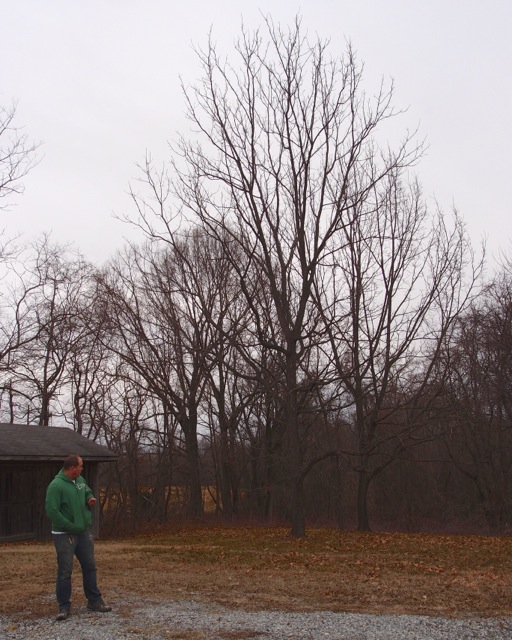
Black Walnut Slated for Removal


So, get the saw and get to work.  Funny, in the distance it looked absolutely puny.  Up close, while not large, it was pretty good sized.  Dada was right there lending a hand harvesting the tree with Gramps.
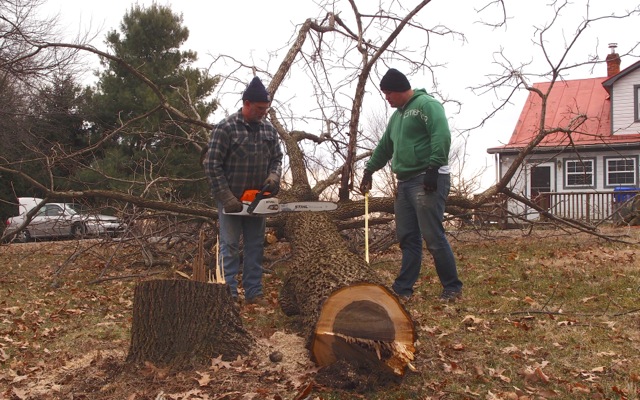
Felled and Ready to Buck


And by the time we got it all limbed and bucked, we had some tired helpers!
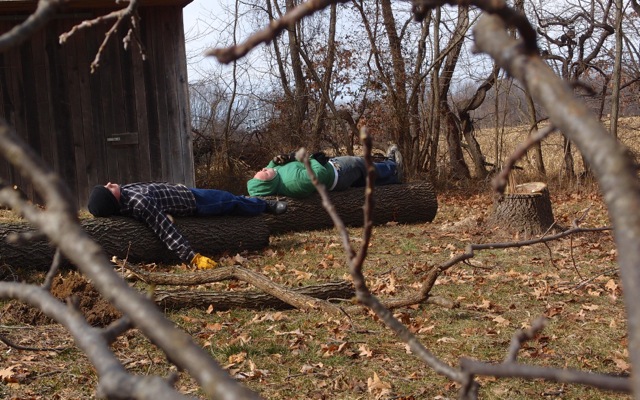
Weary Woodsmen
Weary Woodsmen


One of the key tools that make this whole venture workable is our log arch.  There is no other way we could move these logs about with such ease.  A toast to combining two simple machines; lever and wheel, into an effective package.
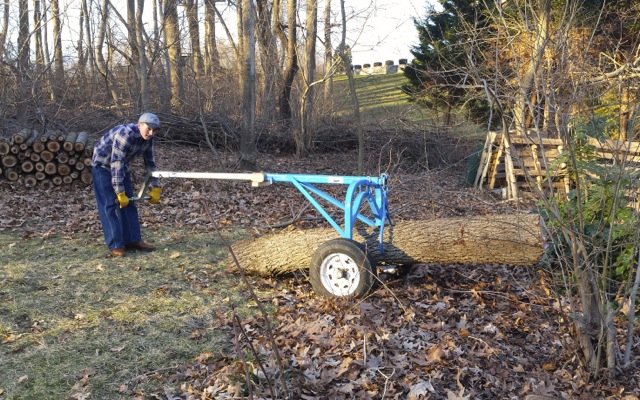
Log Arch for Easy Move


On the way home we pass by this lovely old frame building.  Such a shame that it's being left to rot away....
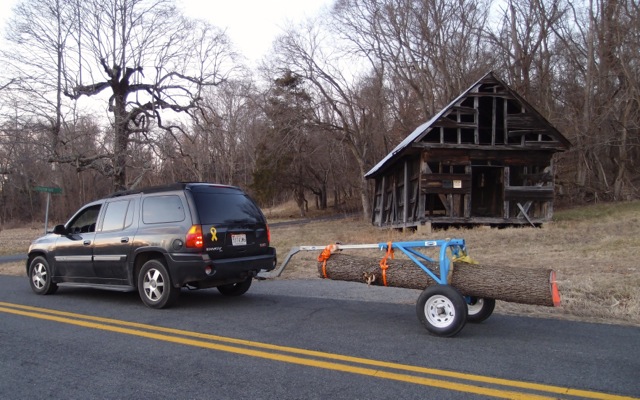
Log on the Road
Log on the Road


First of three logs delivered, two from Great Grandma and one from Grandma.  The last of the batch will be project wood, the tree was damaged in an ice storm when small so had a large 'L' at about the 9' point in the trunk.
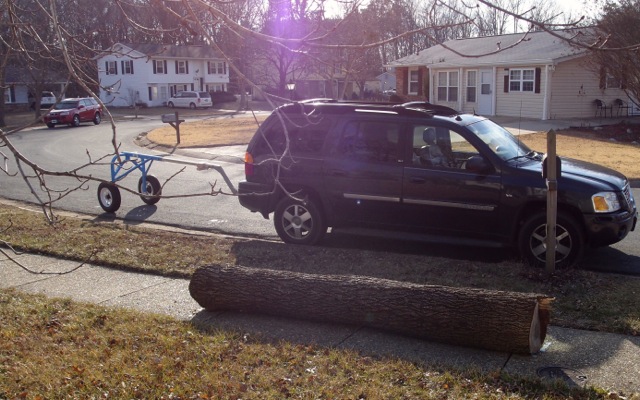
Delivered!
Delivered!


Here is number two; the upper log from the first tree ready to cut.  The large limb ended up being the main feature of the project as you will see below.
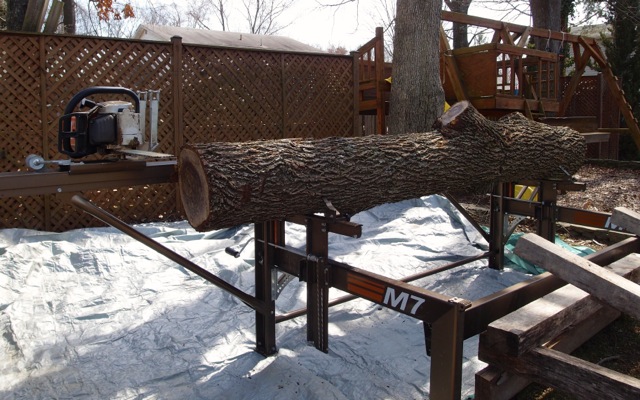
Up on the Mill
Up on the Mill


Slab comes off and begins to reveal some beautiful wood beneath the rough exterior.  Any chance there are parallels?
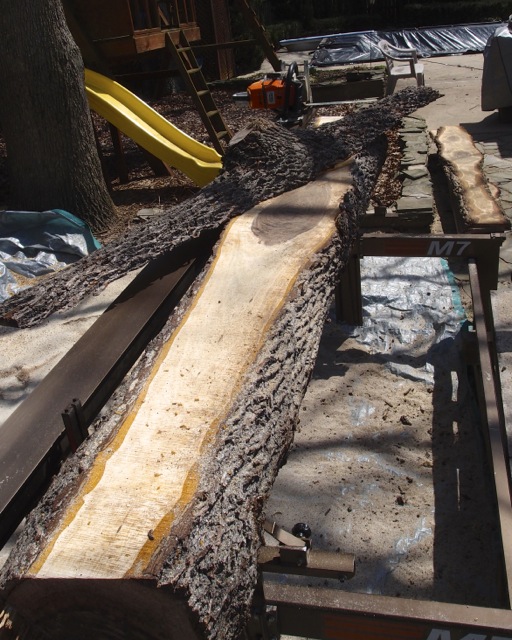
Slab Comes Off
Slab Comes Off


After the boards are cut we put a second coat of sealant on the ends to reduce splitting.
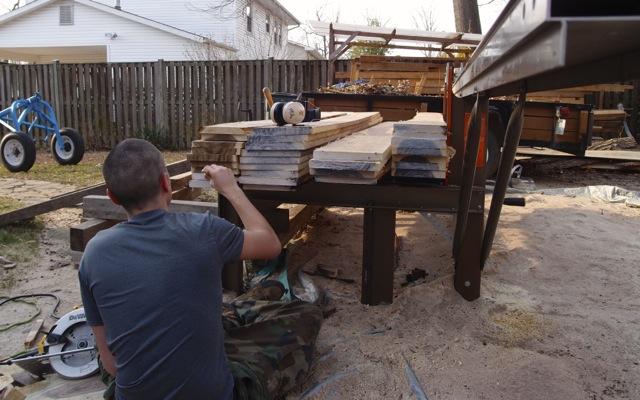
Seal the Ends
Seal the Ends


Fast forward one year and here are six boards in the shop as we try to figure out what to make and which ones to use.  After some thought, and consultation with momma we narrowed it down to a high chair.   More thoughts, sketches on paper, considering dimensions and we end up with a booster chair.   

Rough Walnut: Which to Use


Some design work in SketchUp with help from Northern Lights Timber Frame Rubies, and viola a plan emerges.


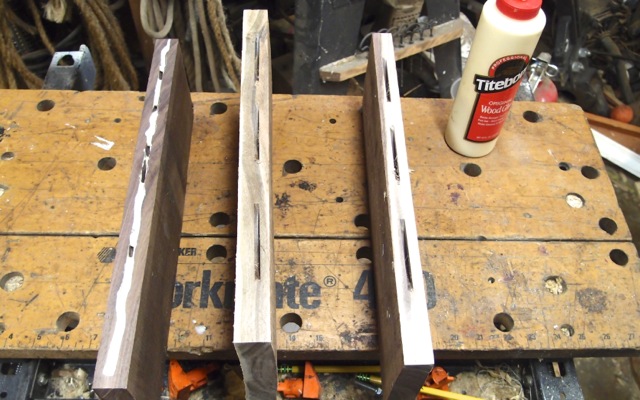
After looking over the available lumber I decided to make the sides 'plain' and put one slice of knot in the center of the seat and another in the center of the back.  The boards were just shy of being wide enough so they had to be joined.   Probably worked better anyway, there was a good bit of cupping and other irregularities.
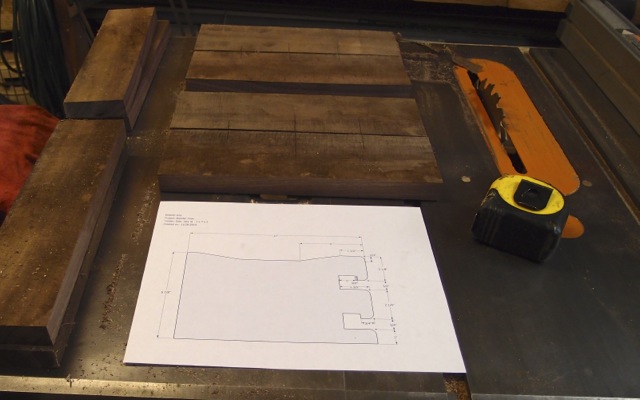
Plan and Boards for Sides


When rough it was hard to imagine the color and grain beneath the surface.  Nothing quite as satisfying as uncovering that character with a sharp blade.  I didn't realize the newer heartwood was going to be a shade of purple while the older center was a lovely chocolate with nice grain throughout.
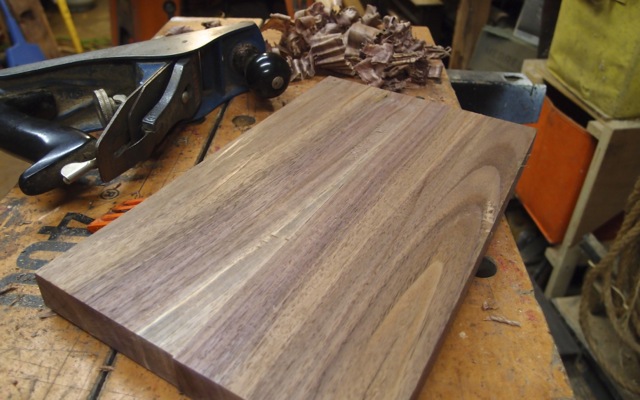
Side Glued and Planed


After getting the boards to the right size it's time for a trip through the bandsaw to get the final shape.
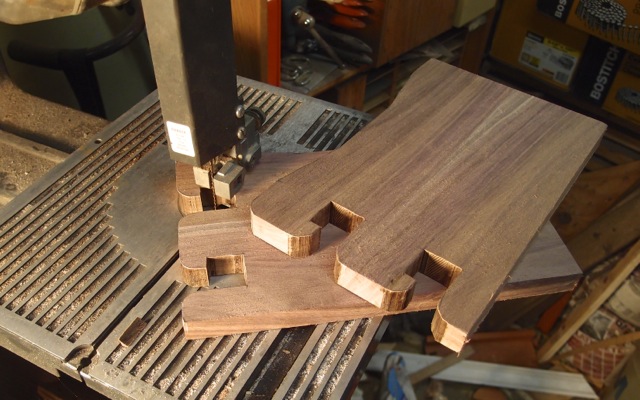
Final Shape of Sides


Next is the seat.   Embarrassed to say that I misread the plan (that I made up, and dimensioned) and cut each of the two sides an inch narrow.  
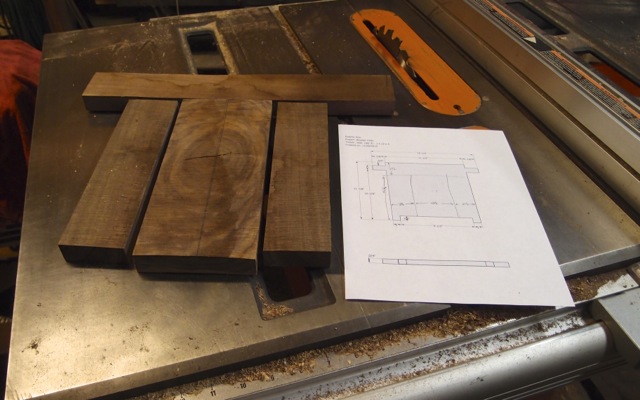
(Most of) The Seat
(Most of) The Seat


So, plan 'B', add some sapwood for effect.  I didn't want to break into a new board so found a way to work in pieces from the scrap already cut.   While satisfied with the way it turned out I learned some things that I'll try on the next project that may make it look even better.
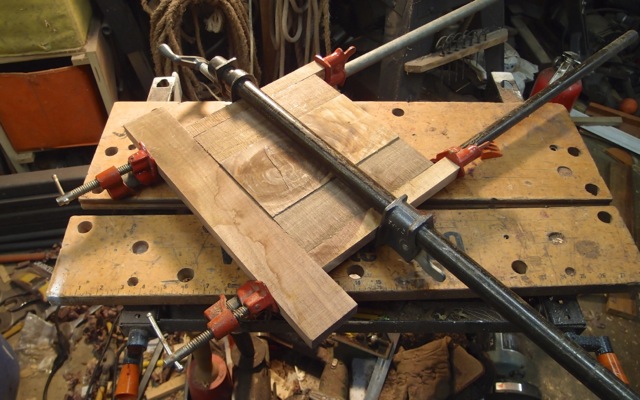
Seat Glue Up
Seat Glue Up


Here is the finished seat planed, cut, and rough sanded.  With the crazy grain had a lot of trouble with pull out using the plane so resorted to a good bit of belt sander action.
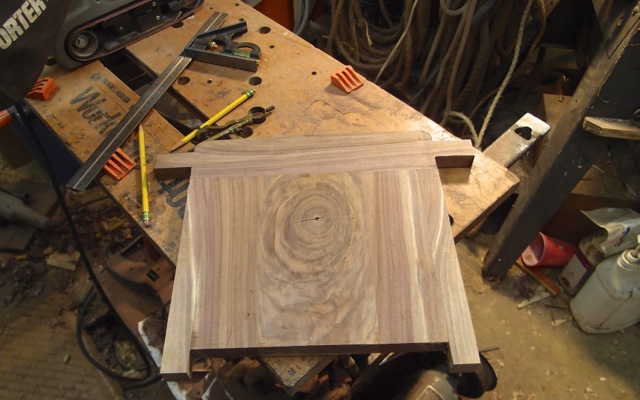
Seat Ready for Final Sanding


Here is the back.  Notice the significant cup on the center board due to stresses around the knot.
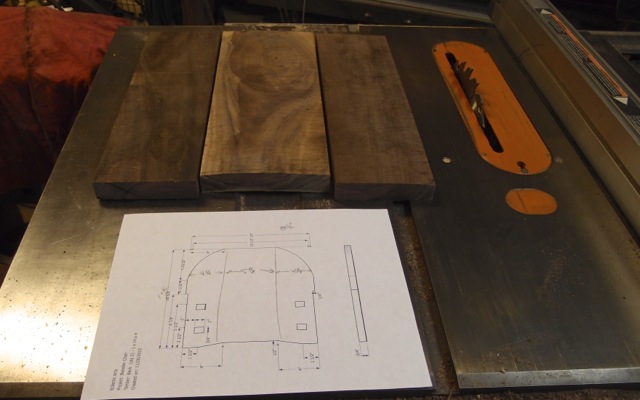
Back Boards Ready to Glue


All that flat stuff was biscuit joined to add a little strength.
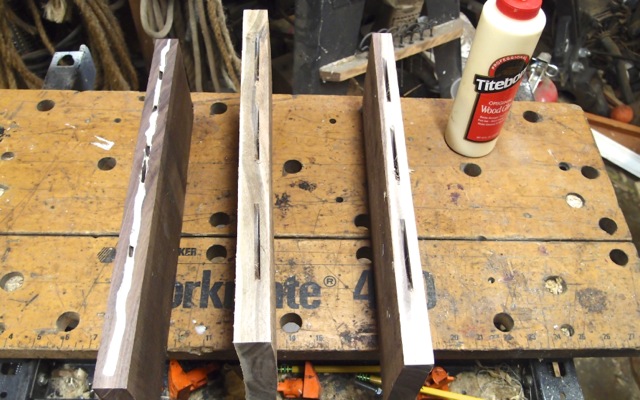
Joint Method: Biscuit


Here it is after a rough sand and cut out.
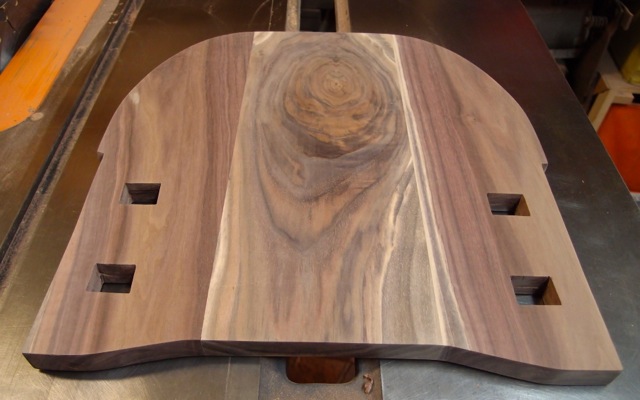
Back Ready for Final Sanding

That's about time that Momma and Baby came to visit and see how things were coming along.  I think it was probably the first time he had been in the garage, his eyes positively lit up.  I could just imagine him thinking 'look at all the stuff I could get into here'.

Making it Smooth as, Well, You Know


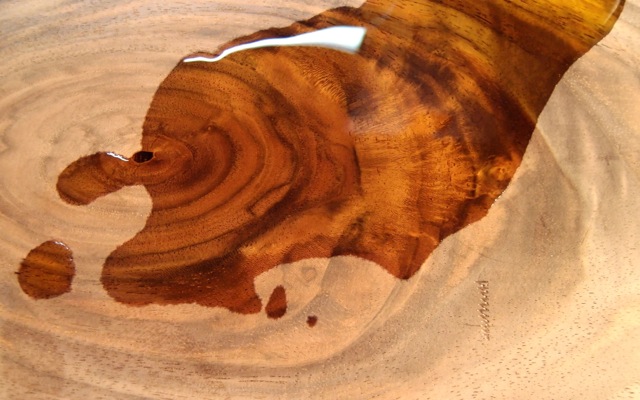
The most fun was putting oil on the knots and watching the color and grain pop.  
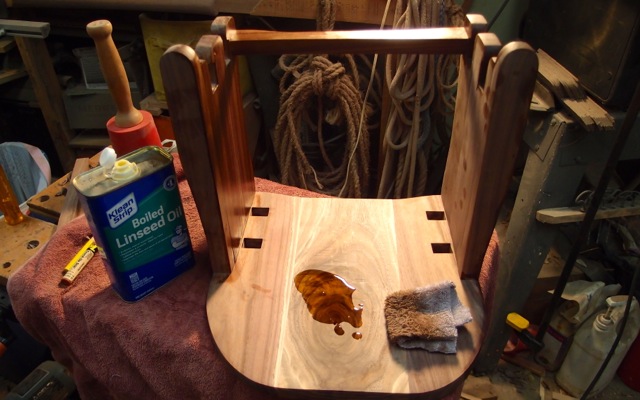
Assembled with Oil FInish Going On


Absolutely gorgeous. 

Close up of Grain
Close up of Grain


Decided to put the outside of the tree outside of the chair.  Seems 'right' for some reason.
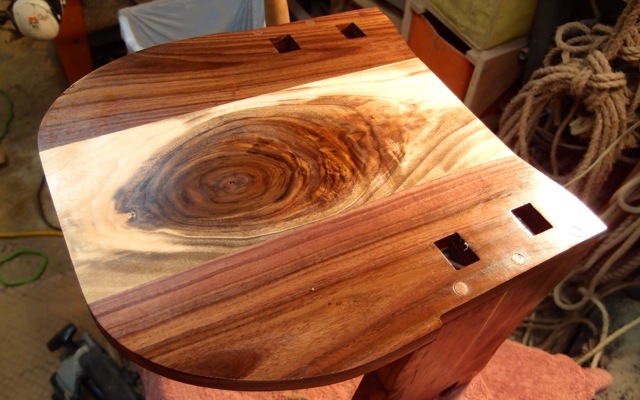
Back View
Back View


Nice view of the back and seam mirroring each other.   Pretty much done at this point.  Will add a couple of coats of oil and rub it down, then put it to work!
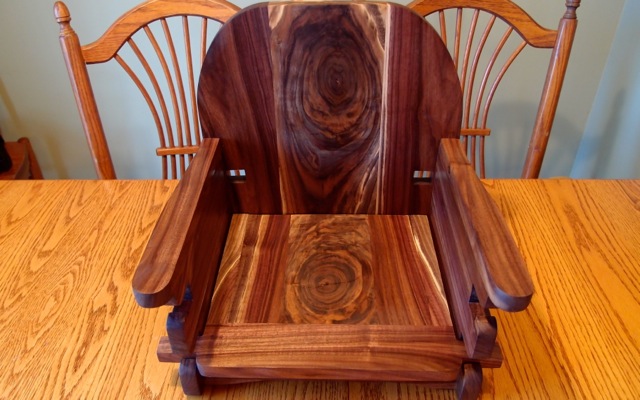
Finished Chair
Finished Chair


Monday, August 17, 2015

So..... Great weekend.  Got up to the land with the family and got some stuff done.  Second try at time lapse, this time a section of short retaining wall along the camper site.   I only had that little baby tripod on a block of wood so the viewpoint isn't all that great.  Another couple of days and this section will be done, then on to the 'big one'!


This section is an extension of the wee bit'o wall that marks off the camper spot.  We started on it last fall and it'll probably be done shortly ;-)!


Wednesday, April 29, 2015

Frankenstein Complete

Winter project complete.  After seeing the waves in the driveway an night with the headlights shining over it I knew that adjustments had to be made.  So, after a bunch of Internet searches and plenty of YouTube videos I know beyond a doubt what needed to be done - it had to be graded.

I kinda of suspected that might be the case when I bought the Gravel Rascal and even asked the sales guy why they didn't offer a grader option.  He brushed it off and I pressed forward with the purchase.  I am pleased with the product, it's just not complete.  Back in the day (at least at home) the counties all had horse, later tractor, drawn graders.  As motor graders came along these got sold off or parked somewhere to rust away.   I have seen a few around here as well, even one that looked like it might want a new home at a construction equipment lot.  Called, no response.  Time to get busy.  

After a bunch of time in SketchUp had a plan.  Bought a small pile of steel and started cutting.  Overall it really came together quite nice.  There was one pivot point that I just couldn't quite get my head around so I swapped out the solid support for a chain so it could be adjusted, and I worried (correctly) that the actuator would not be stout enough with the additional weight to lift it.   After swapping out the lift it was good to go.


Best news is that it actually works!


Sunday, September 22, 2013

Wow, been a while.  A few things have happened I suppose.  Mostly lots of changes to 'the plan'.  One of the big ones is the location of the finished Timber Frame shed I have been working on.  I think we are going to put it in West Virgina instead of the back yard.  Long story :-).

If you have ever read the short called "Sequences" by Patrick McManus you'll have a deep appreciation for the ripples on both sides of the cause and effect that came from this change.  One of them was the decision to build a little post and beam wood shed as a thank you gift for our friend who donated a bunch of wood for the big shed.  I have been cutting beams from trees that had come down in the yard due to either storms or thining for a couple of years now.  Problem is there was one more tree and I don't really need any more beams, so....

The screen capture here shows the design I came up with.  Pretty simple.  They have a fireplace that they use a few times a season so it doesn't have too be all that big.  Need to keep the firewood up off the ground and the weather off.


Wood Shed Design

The small size drove the timber size to 4x4 posts so there was really no way to do timber frame joints so went with metal fasteners, post and beam style. Still like the timber frame look though so put some lap joints in to give it a little bit of effect.


Beams, Ready to Assemble


Next photo is all of the timbers cut and ready to go.  For such a small little thing the pile ended up a lot bigger then I expected.  Of course this also means it took much longer than anticipated as well.  Twice the cost and four times as long as the estimate as I am often told by certain other people near and dear to me.


Mostly Finished

Last shot shows the decking going on. At this point I was doing an hour or so at a time after work so it took one more trip to get the shingles down, in the rain of course.  Need to get back over and see how it looks with some wood stacked up....

Laying Down the Decking